
Measuring and Drawing Angles Worksheets
Put the protractor center on the vertex and read from the zero that matches the starting arm.
Start at the vertex
The vertex is where the two arms meet. Place the center mark of a protractor on that point. Align its zero line with one arm before reading the scale. Bring a physical protractor and ruler; this worksheet does not include a printed protractor.
Choose the correct scale
Many protractors show two scales. Follow the one that starts at zero on the aligned arm. Read where the other arm crosses that scale. An angle smaller than a right angle should give a reading below 90°, not the larger number on the opposite scale.
Estimate, align, read, check.
First decide whether the opening is smaller than, equal to, or larger than a right angle. Then place the tool carefully and compare the reading with that estimate.
The opening matters, not arm length
A longer arm does not make a larger angle. The two arms on an original drawing may have different lengths. If an arm is too short to reach your protractor scale, extend it straight with a ruler without changing its direction.
Draw a requested angle
Draw a straight starting arm and mark its vertex. Place the protractor center at the vertex and align zero with that arm. Mark the requested degree value, remove the protractor, and use a ruler to connect the vertex to the mark. Measure the completed opening again.
Check a drawing, not just its label
Writing the requested degree number beside a drawing does not show that the angle is accurate. Use the tool to check the opening. Allow small pencil and alignment differences and help the child adjust a misplaced vertex or mark.
About this practice
Each sheet reuses two measurement tasks and two drawing tasks. The original bank uses 30°, 45°, 60°, 90°, 120°, 135°, and 150°. Values differ within each pair, but a particular angle or an acute/obtuse balance is not guaranteed.
The supplied diagrams retain their original proportions. Print without stretching the image in one direction. The answer key gives requested-angle guidance for drawing tasks, not completed drawings. Reflex angles, full turns, and angle addition are not assessed here.
Make a practice set
Choose what to print. Selecting both shows the answer key on screen and prints the questions followed by the answers.
After the practice
Ask how the child chose the correct scale and checked the opening against a right angle.
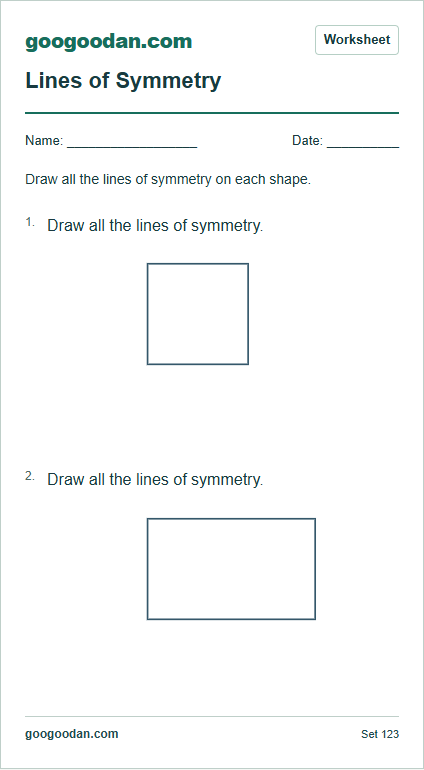 Drawing activity
Square and Rectangle Symmetry
Draw all symmetry lines on two original shapes.
2 problems · Answer key included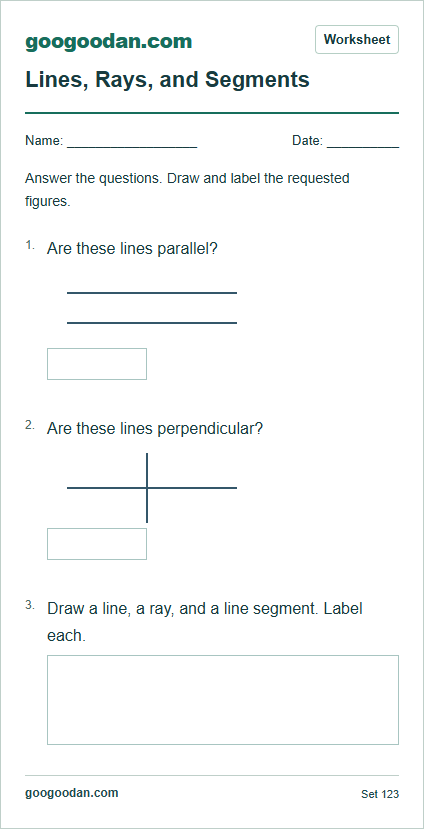 Drawing activity
Lines, Rays, and Segments
Identify parallel and perpendicular lines, then draw three types of figures.
3 problems · Answer key included
More about measurement · Grade 4 worksheets
Grade 4 selected skill connection: 4.MD.C.6. See the Common Core grade guidance. This worksheet does not cover every requirement in the standard.